The world of software development has been inverted by the introduction of AI. This started off as an assistive role but quite rapidly AI is taking on more and more autonomy. In fact, the recent hype around Ralph (Ralph Wiggum as a “software engineer”) is evidence enough that whole sections of work can now be fielded off to agents, that will simply report back when they’re done. In this post we’re not going to go that far but we are going to look at how you can use AI to rapidly build out your next cross platform application using the Uno Platform.
Today you can pick any one of the leading AI models and ask it to create you a cross-platform application using the Uno Platform. This will have varying levels of success depending on whether the model is able to find the dotnet new templates (see uno.templates) and whether it’s able to disambiguate the Uno Platform documentation from the other XAML related documentation (WPF, WinUI, Maui etc).
The secrete to being successful in the use of AI to build Uno Platform applications is through the use of the two MCPs that are packages with the IDE extensions. To get started, make sure you install the appropriate extension for your IDE (see Getting Started).
As I mentioned the MCPs are packaged with the IDE extensions, which means they’re only enabled once the extension is loaded. The extensions are loaded when an Uno Platform app is detected, which means you first need to create an Uno Platform application. If you’re already familiar with this you can jump the next section that goes through the flow of creating an Uno Platform application (in VS Code in this instance)
Start by going to https://new.platform.uno and enter an application name.
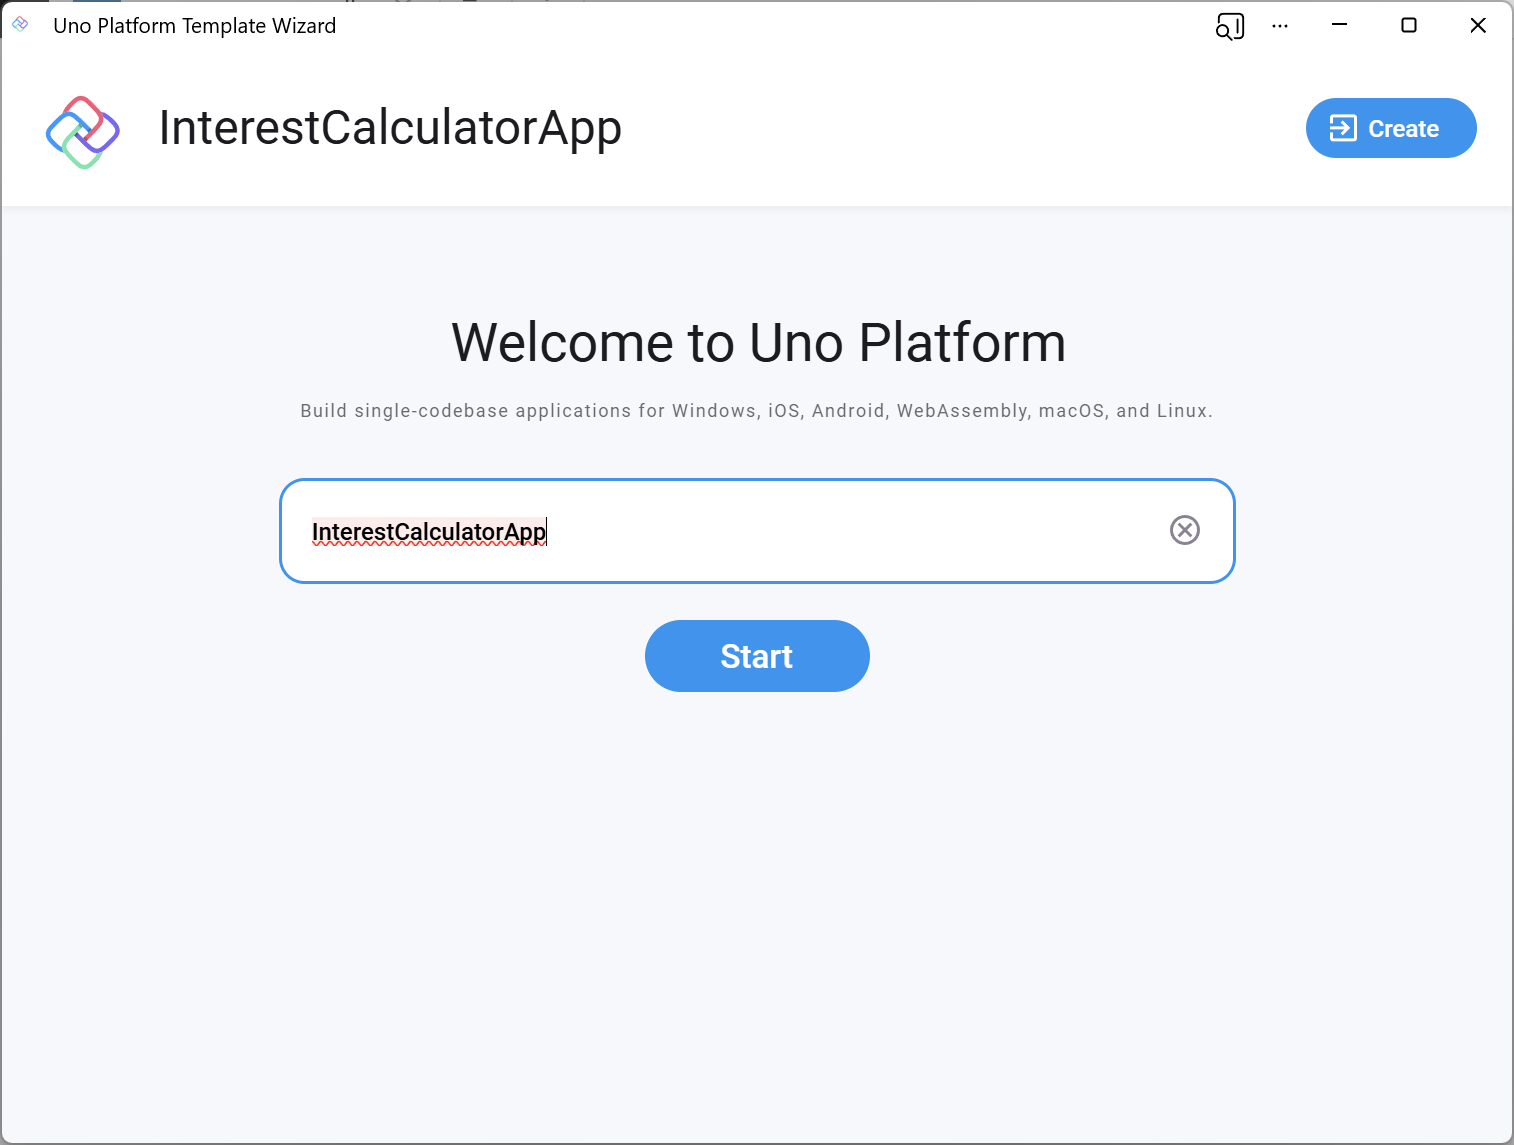
Select the various options you want to include in your application – in this case I’m just going to go with a Basic app to keep things simple since I want AI to create a simple one page application.
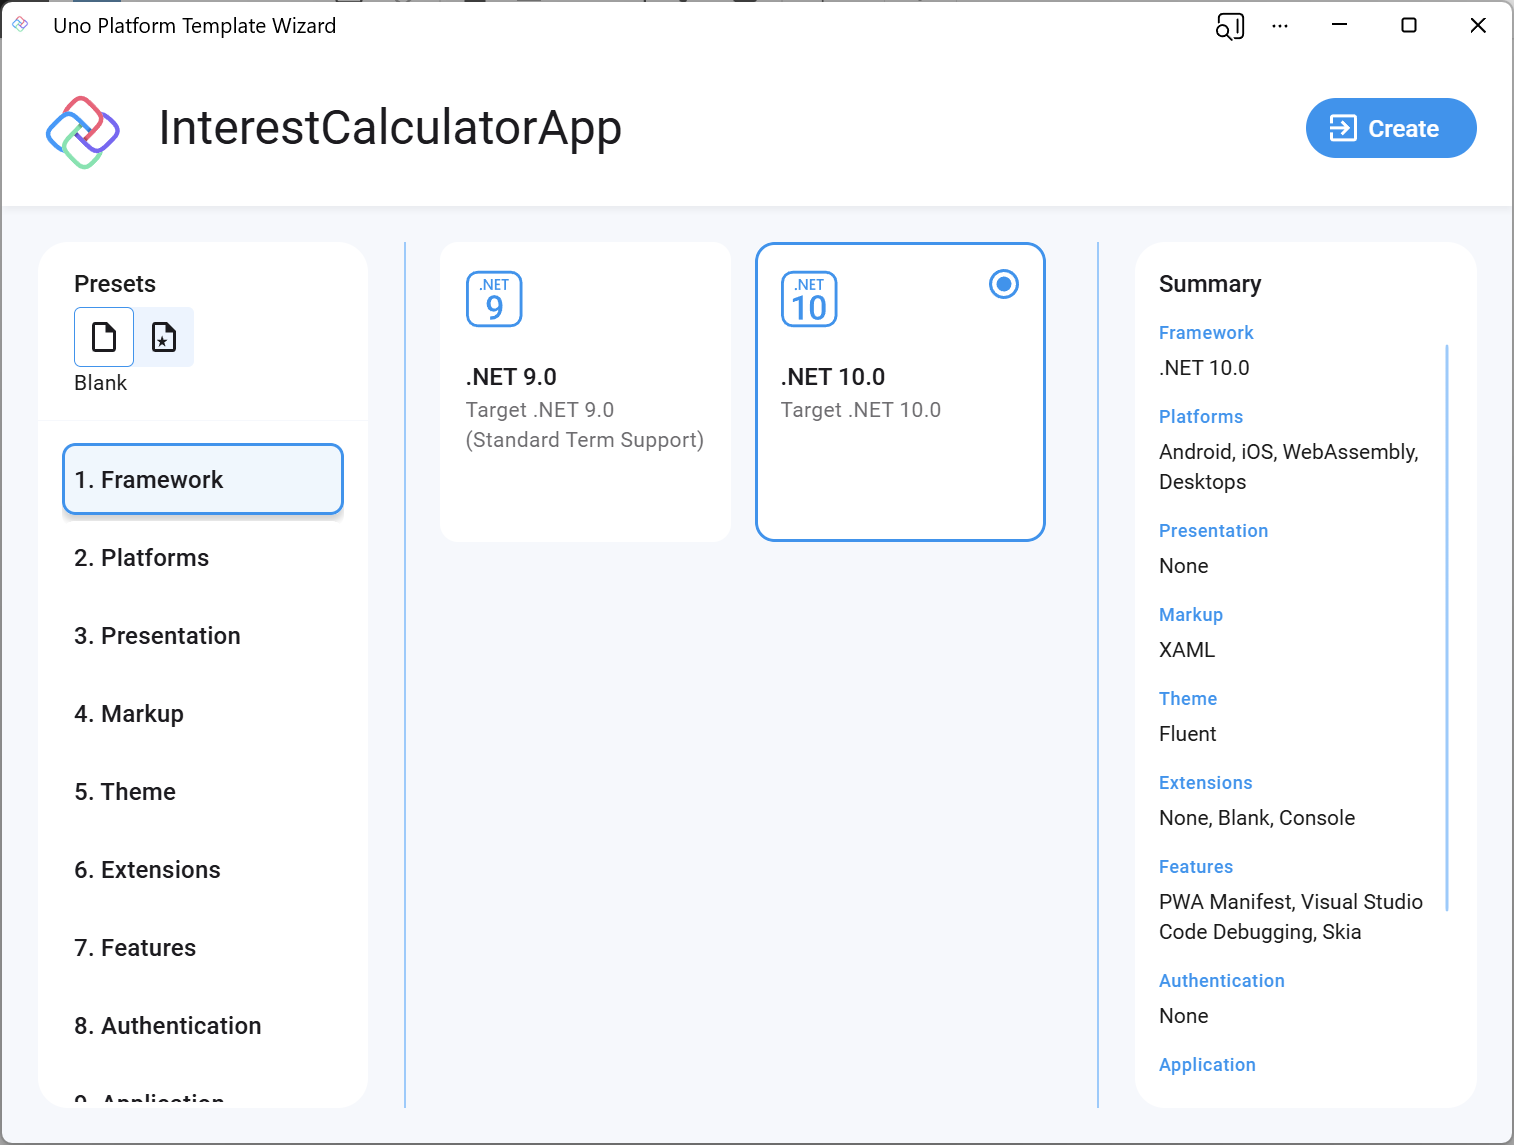
Once you’re done selecting the options, click the Create button and copy the dotnet new command.

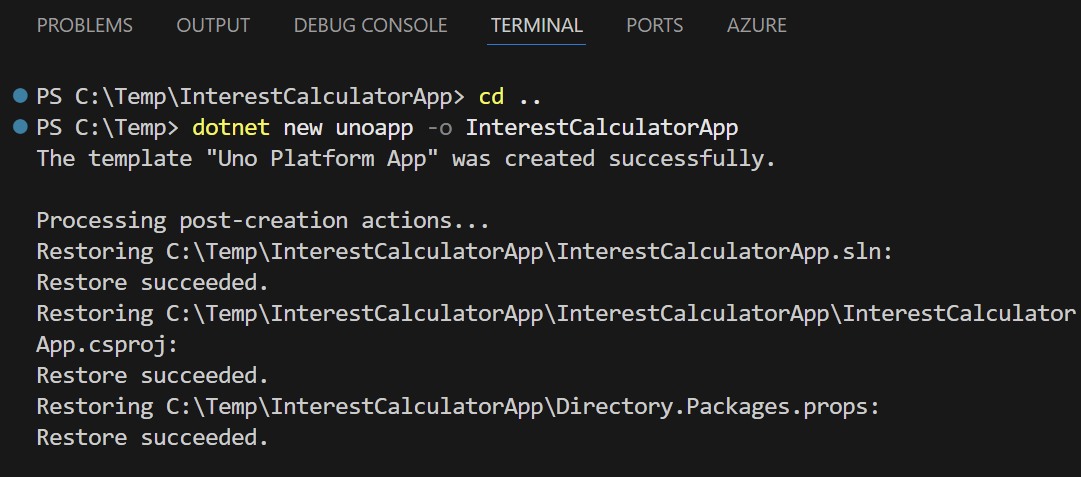
Drop the copied dotnet new command into a terminal window and let dotnet new create the application from the Uno Platform templates.
Once the command has finished executing, open the newly created folder in VS Code.
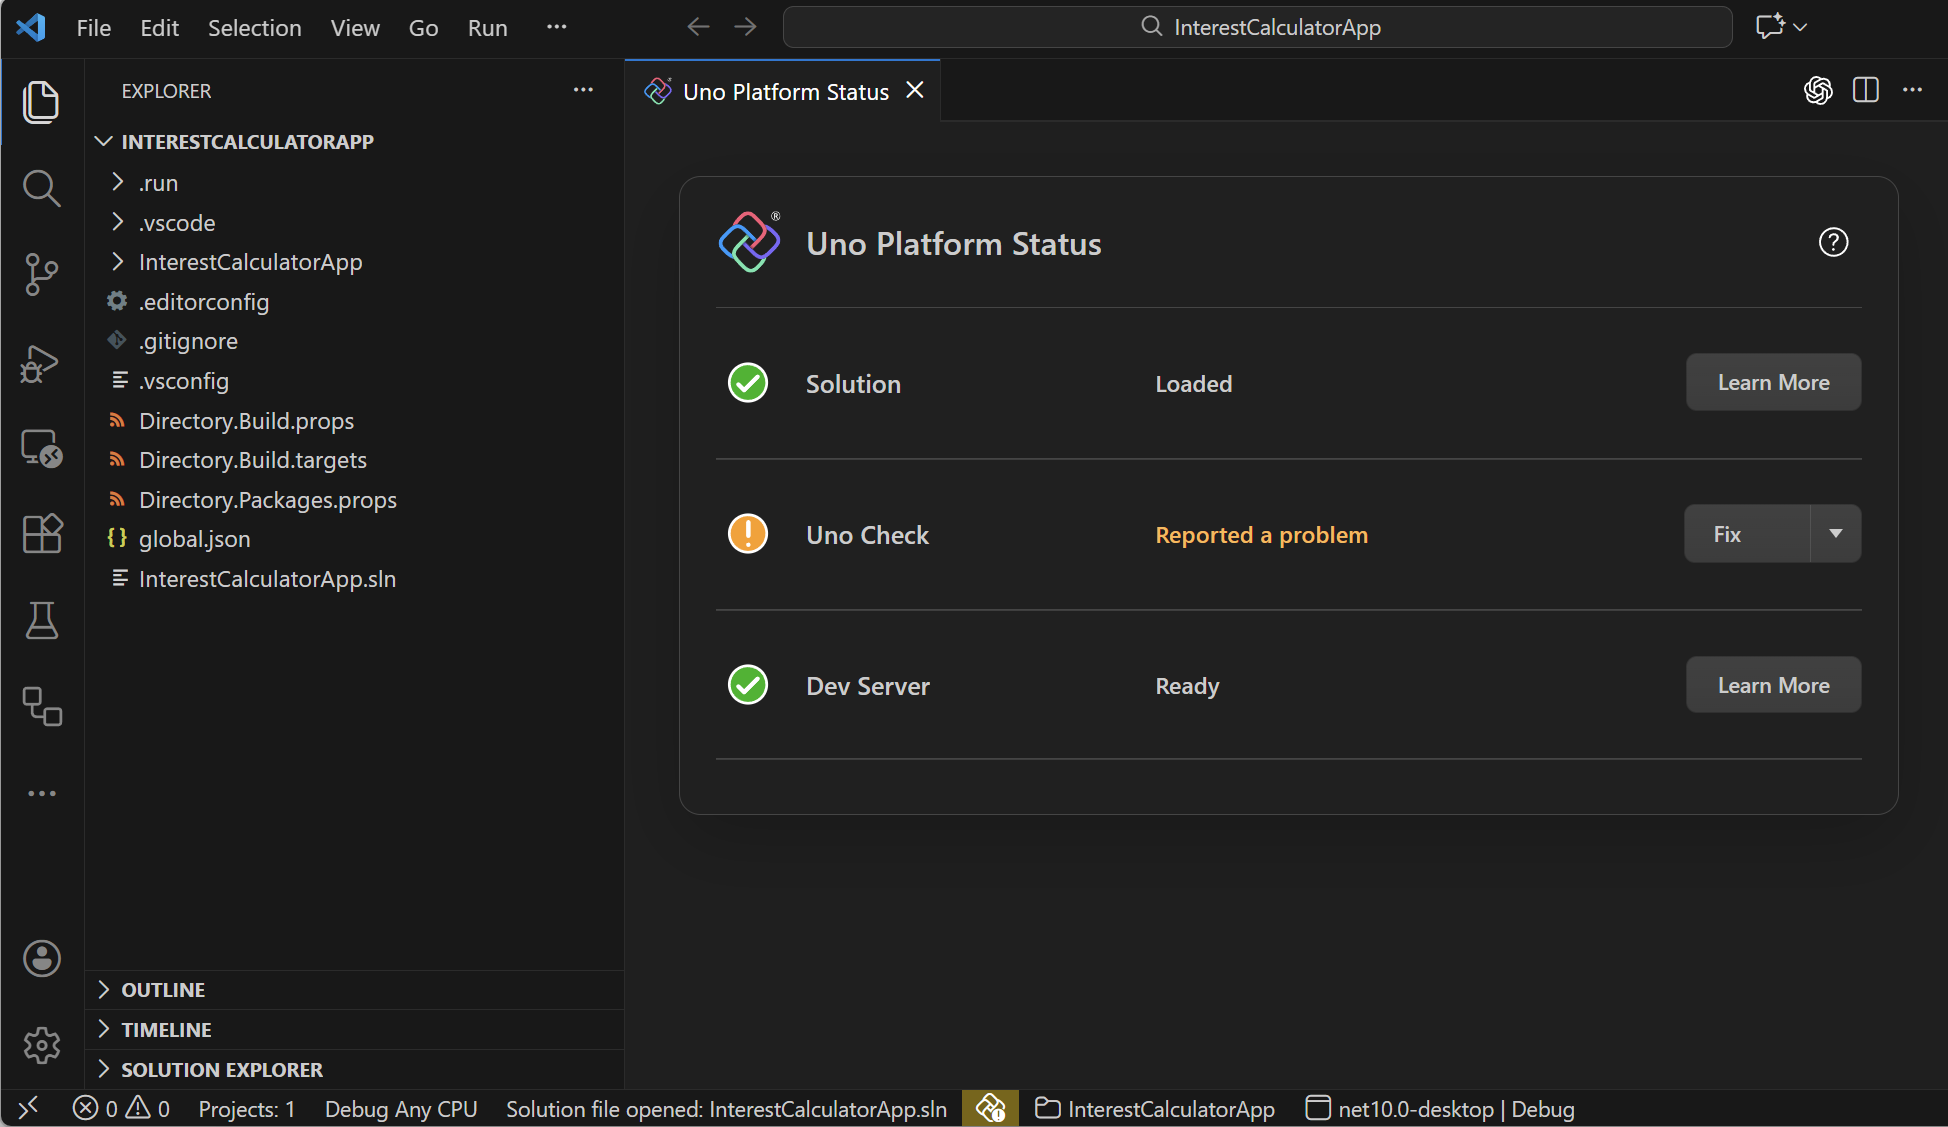
VS Code will automatically run uno-check, which you can see as the icon in the middle of the status bar. Clicking the icon will show the Uno Platform Status page. In this case my installation is reporting an error as I haven’t finished off setting up the Android SDK. What’s critical is that the solution has been correctly loaded and that Dev Server is ready (required for Hot Reload and Hot Design to work).
Now, from the status bar, pick the target platform you want to run on (I’ve selected desktop) and then you can run with or without the debugger. Note that Hot Design is only supported in VS Code when running without the debugger.
Clicking the Hot Design button (left icon in the floating toolbar) for the first time, it indicates I need to sign in with an Uno Platform account, via the Uno Platform Studio app.
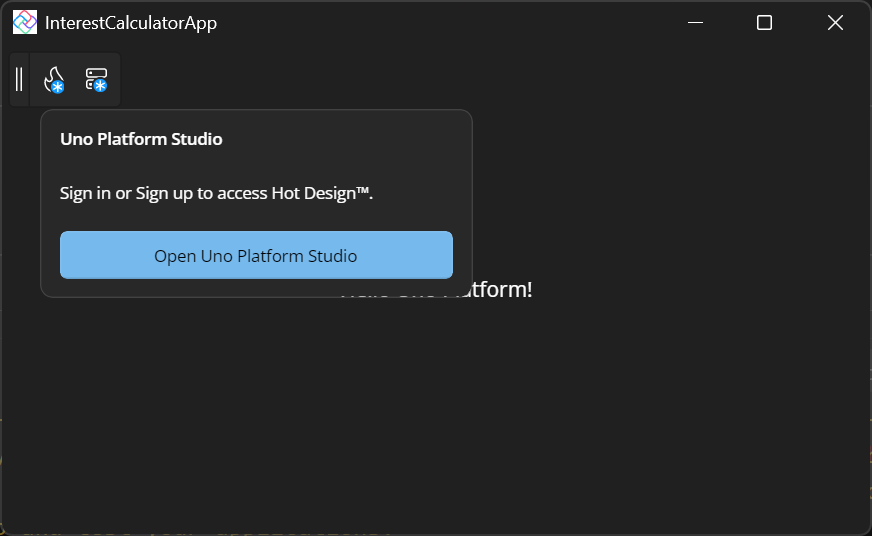
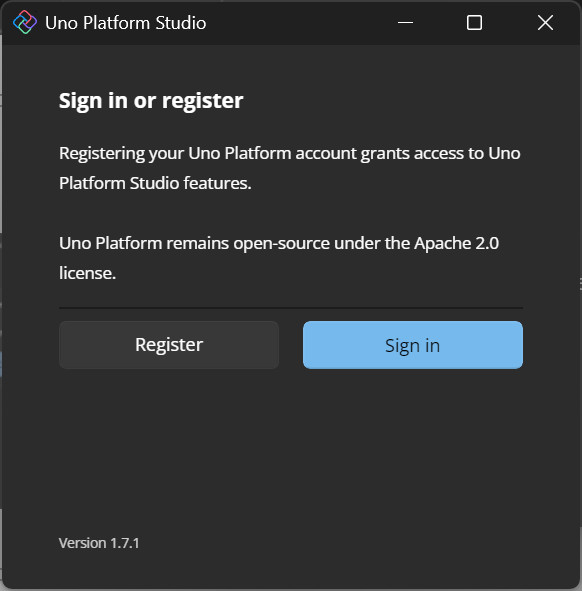
From here I can click the Register (first time users) or Sign In buttons.
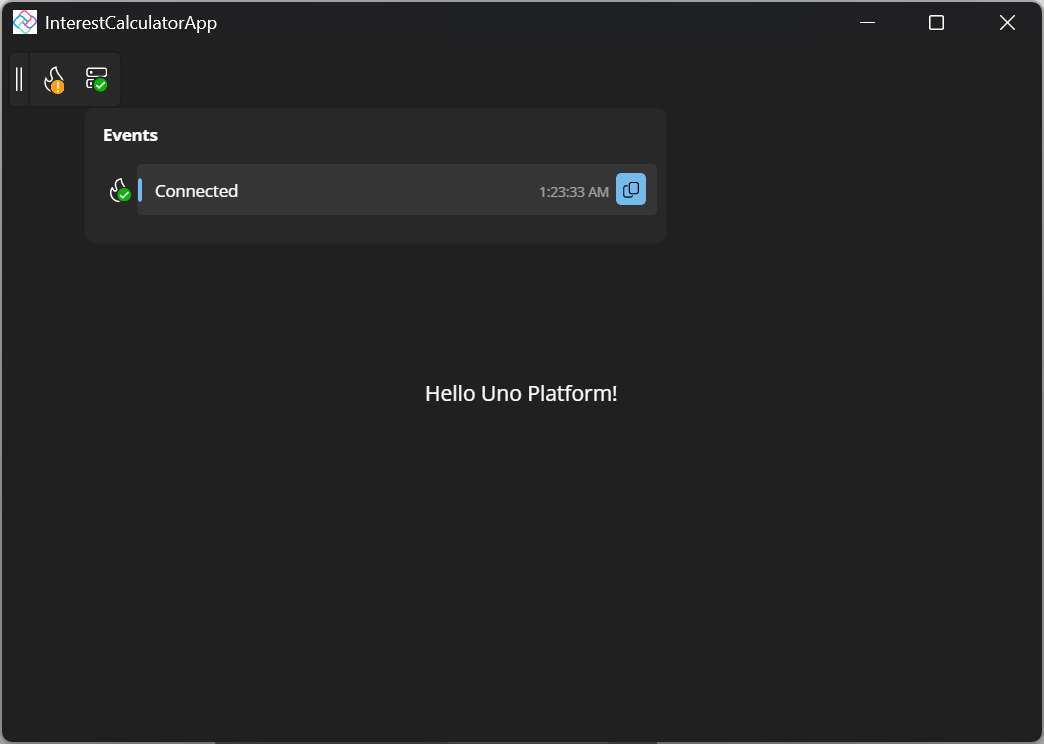
After being redirected to the Uno Platform website to register and/or sign in, returning to the running app you should see that both icons have updated. Here we can see that Hot Reload is connected and ready to go. The Hot Design icon is not green because I’m currently using an account that is in the initial (free) trial period.
Clicking the Hot Design button enters design mode – the app is still running but is placed in the center of the window surrounded by the Hot Design tooling. If you’ve seen Hot Design in the past, you may not have seen the new Agent mode, which allows you to create an entire page using AI from a prompt within Hot Design. Experiment with different prompts and then pick the best outcome.

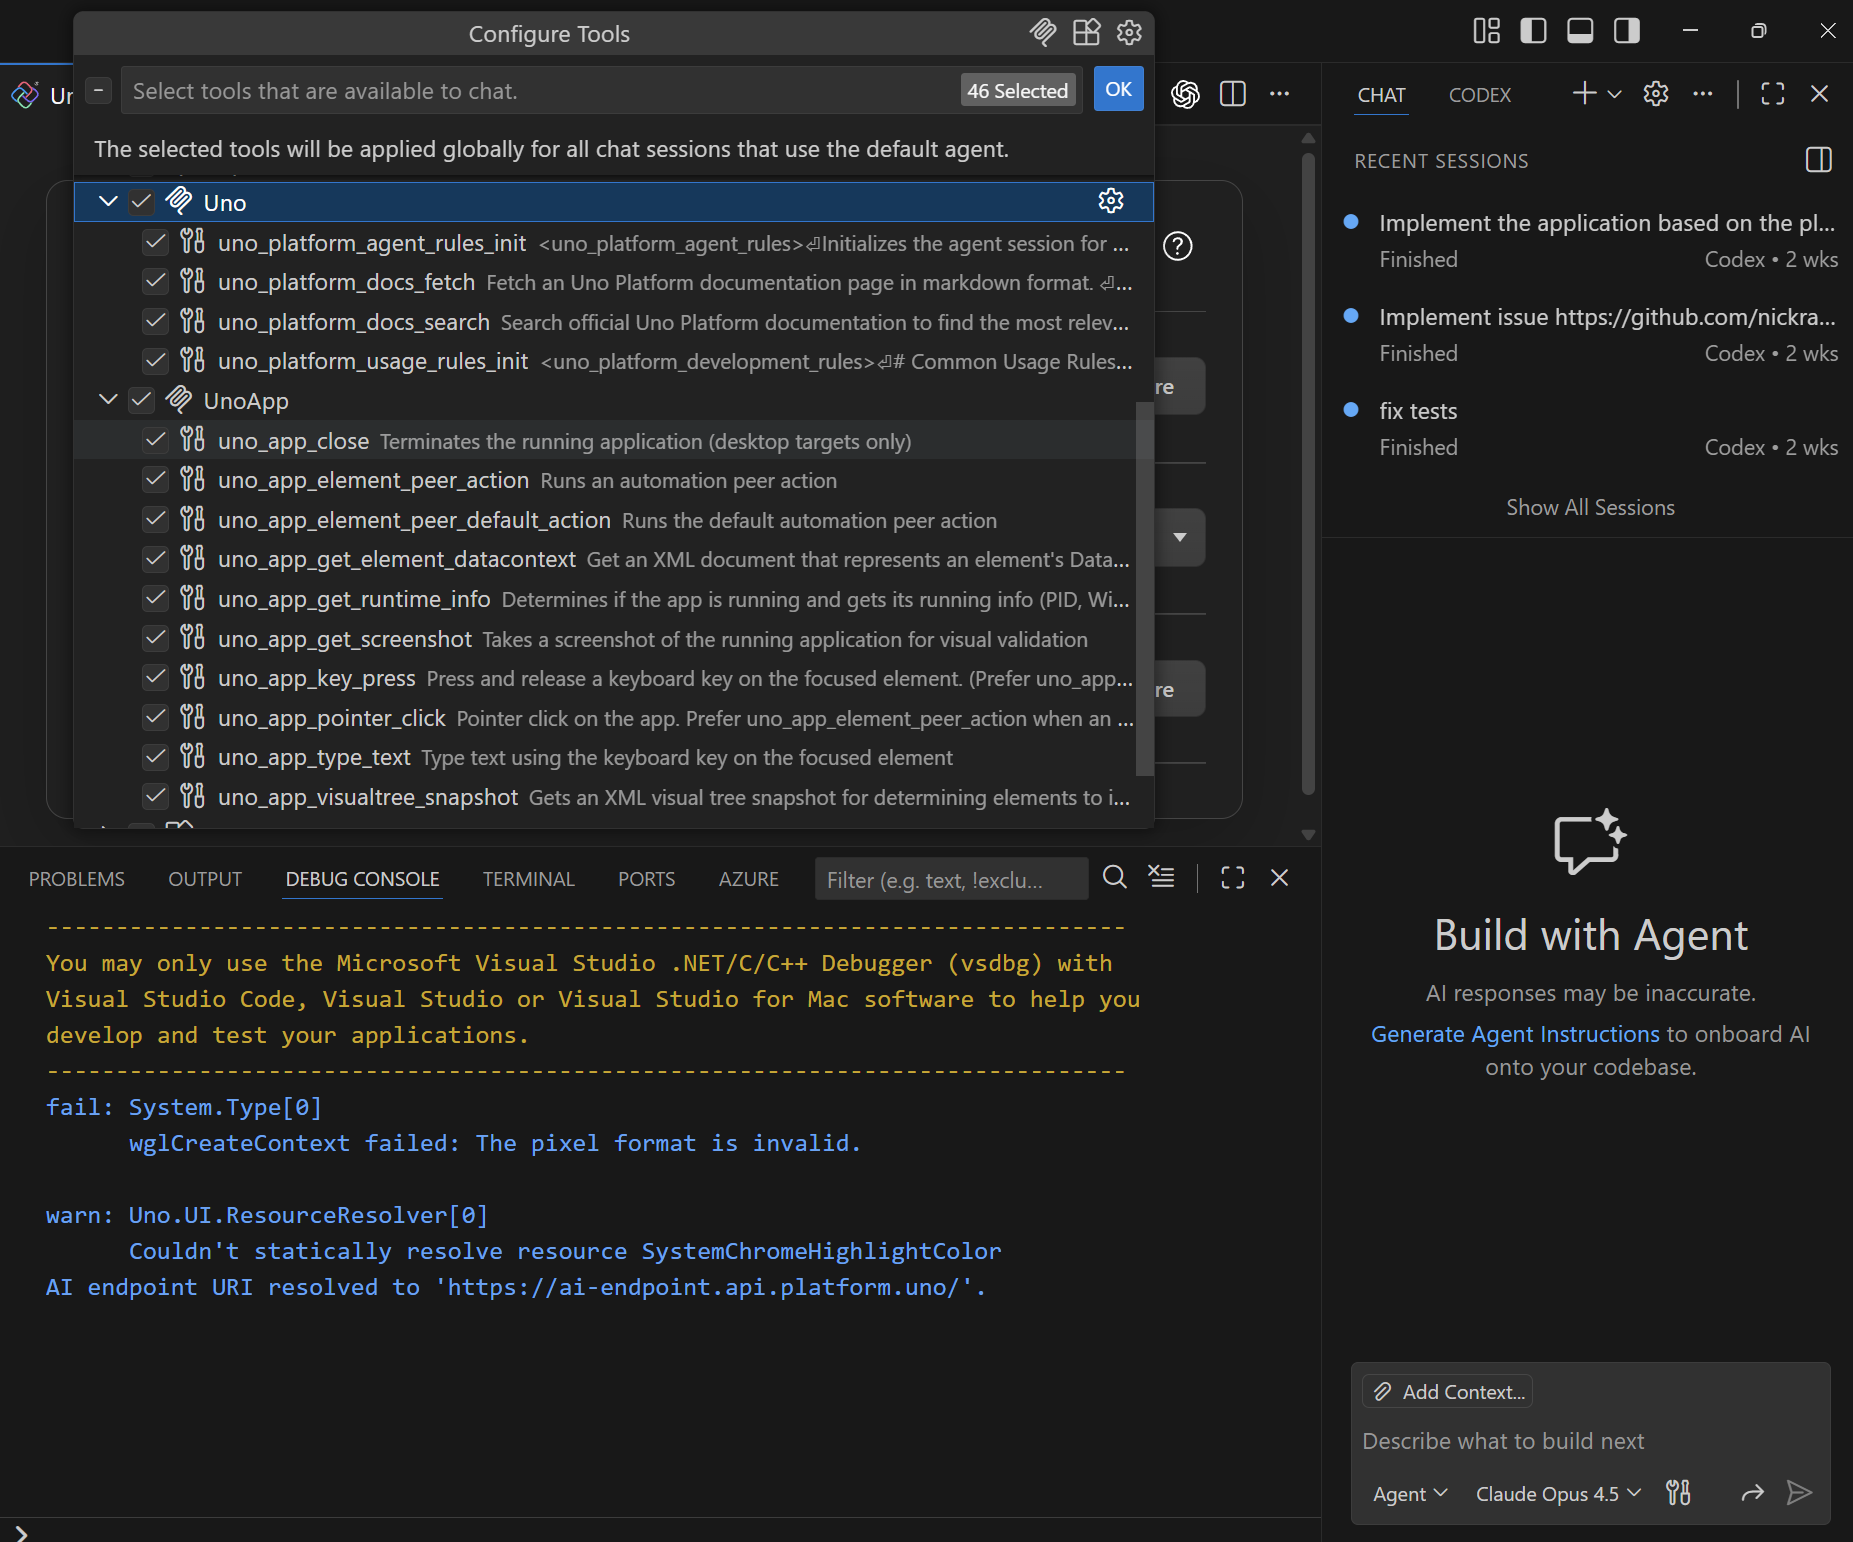
Ok, now that we have a basic Uno Platform application, let’s open up the Chat window in VS Code. If you click on the Configure Tool button (to the right of the AI model selector at the bottom of the Chat window) you can see that the two Uno MCP servers are enabled. This will upskill the AI agent with access to the Uno Platform documentation, as well as the ability to launch and interact with the application.
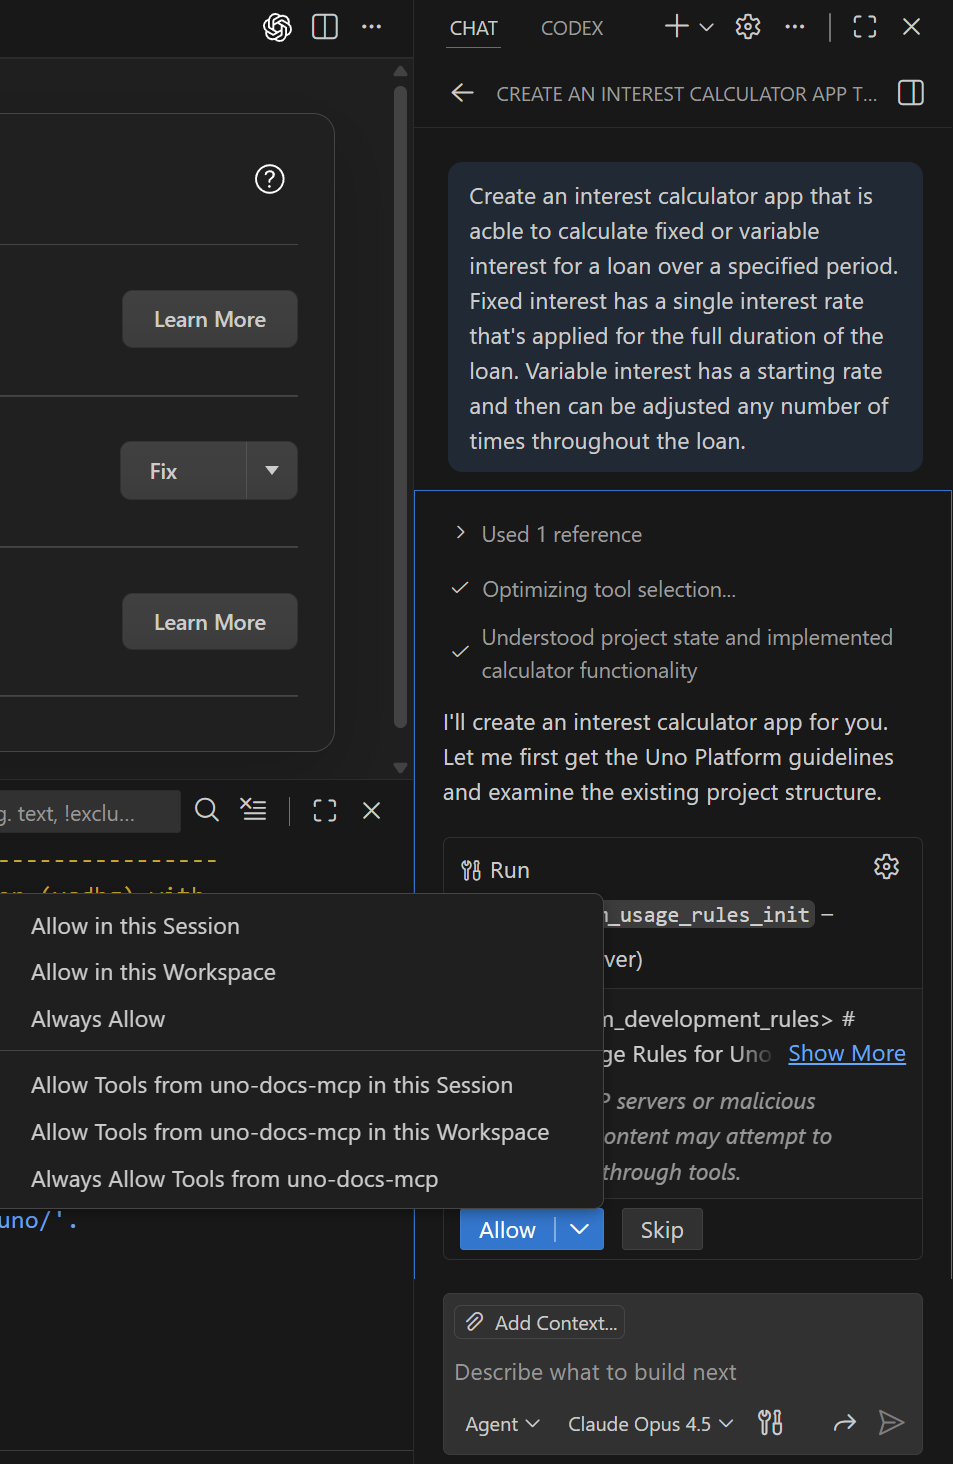
Let’s enter the following prompt: “Create an interest calculator app that is acble to calculate fixed or variable interest for a loan over a specified period. Fixed interest has a single interest rate that’s applied for the full duration of the loan. Variable interest has a starting rate and then can be adjusted any number of times throughout the loan.” When you click the Send button, you’ll see the agent kick in and start building out the application.
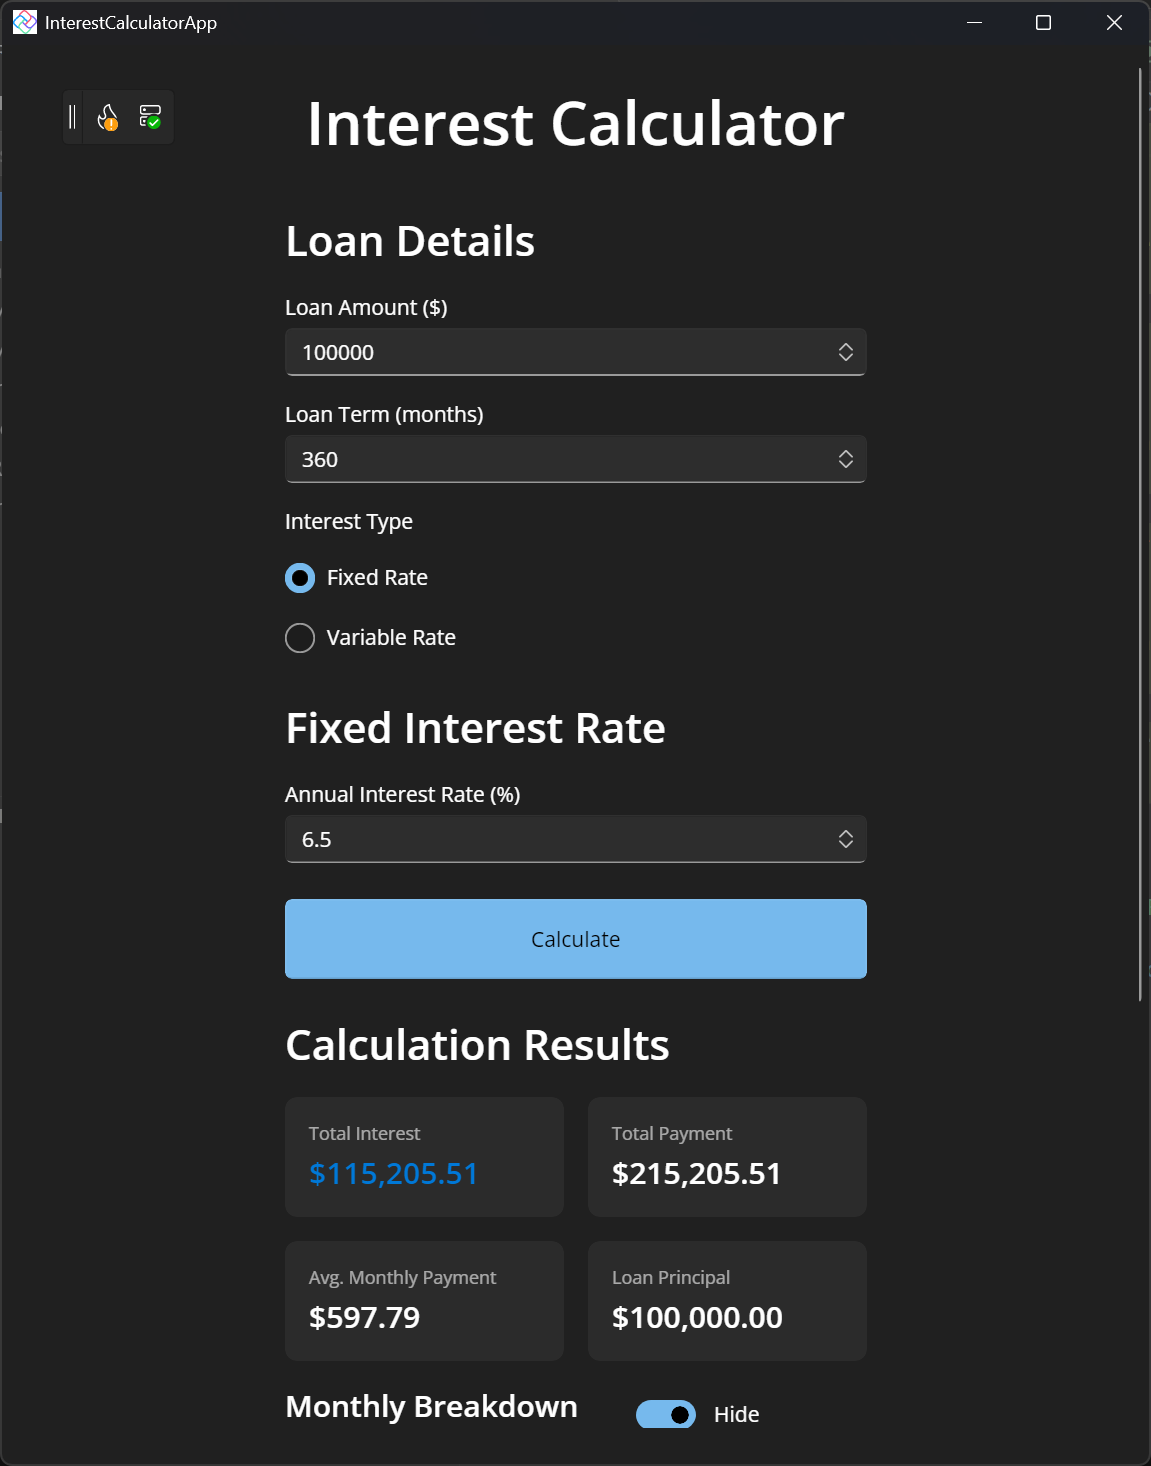
The first iteration of the app, based on numerous calls to the Uno MCP servers is already very functional. During the creation I left the application running and it was periodically updated to reflect the changes being made.
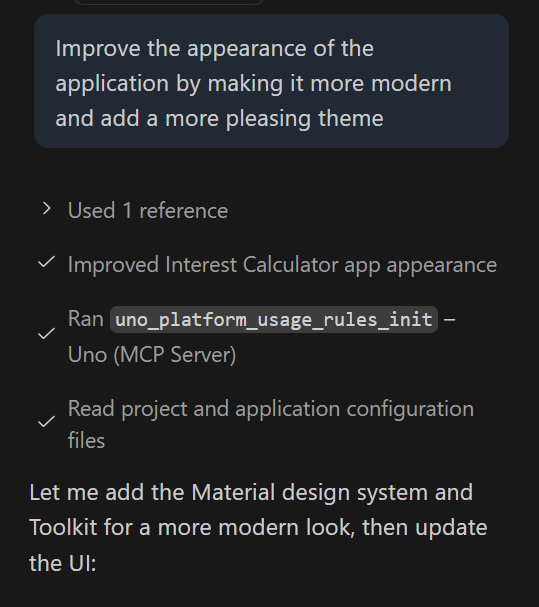
Whilst this application is functional, it’s not particularly pleasing to look at. Let’s get the agent to improve this somewhat with the prompt: “Improve the appearance of the application by making it more modern and add a more pleasing theme”.
What’s interesting here is that you can see that the agent is launching and then taking a screenshot of the application, in order to verify the visual changes being made.
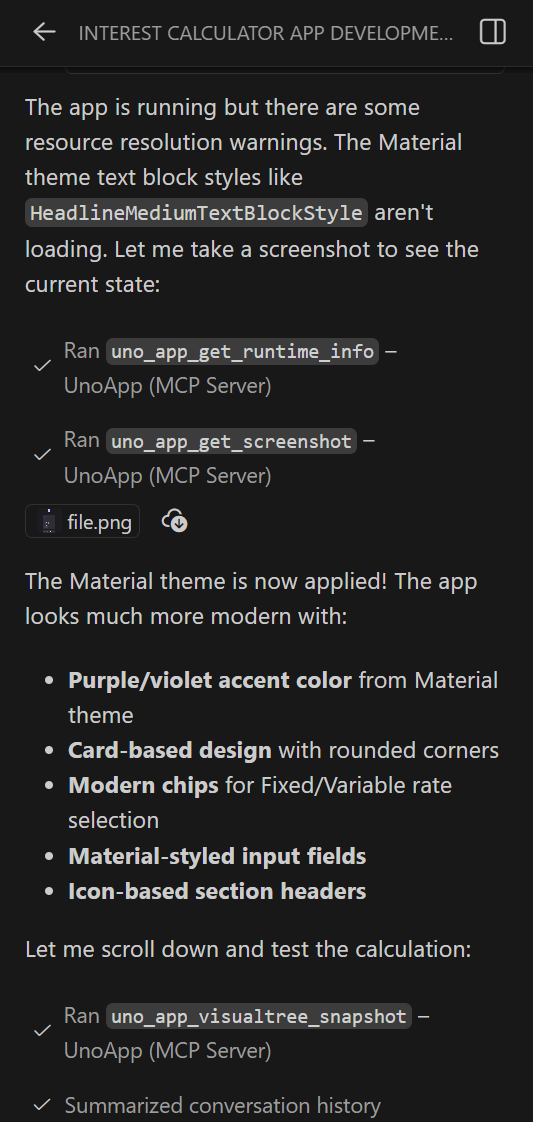
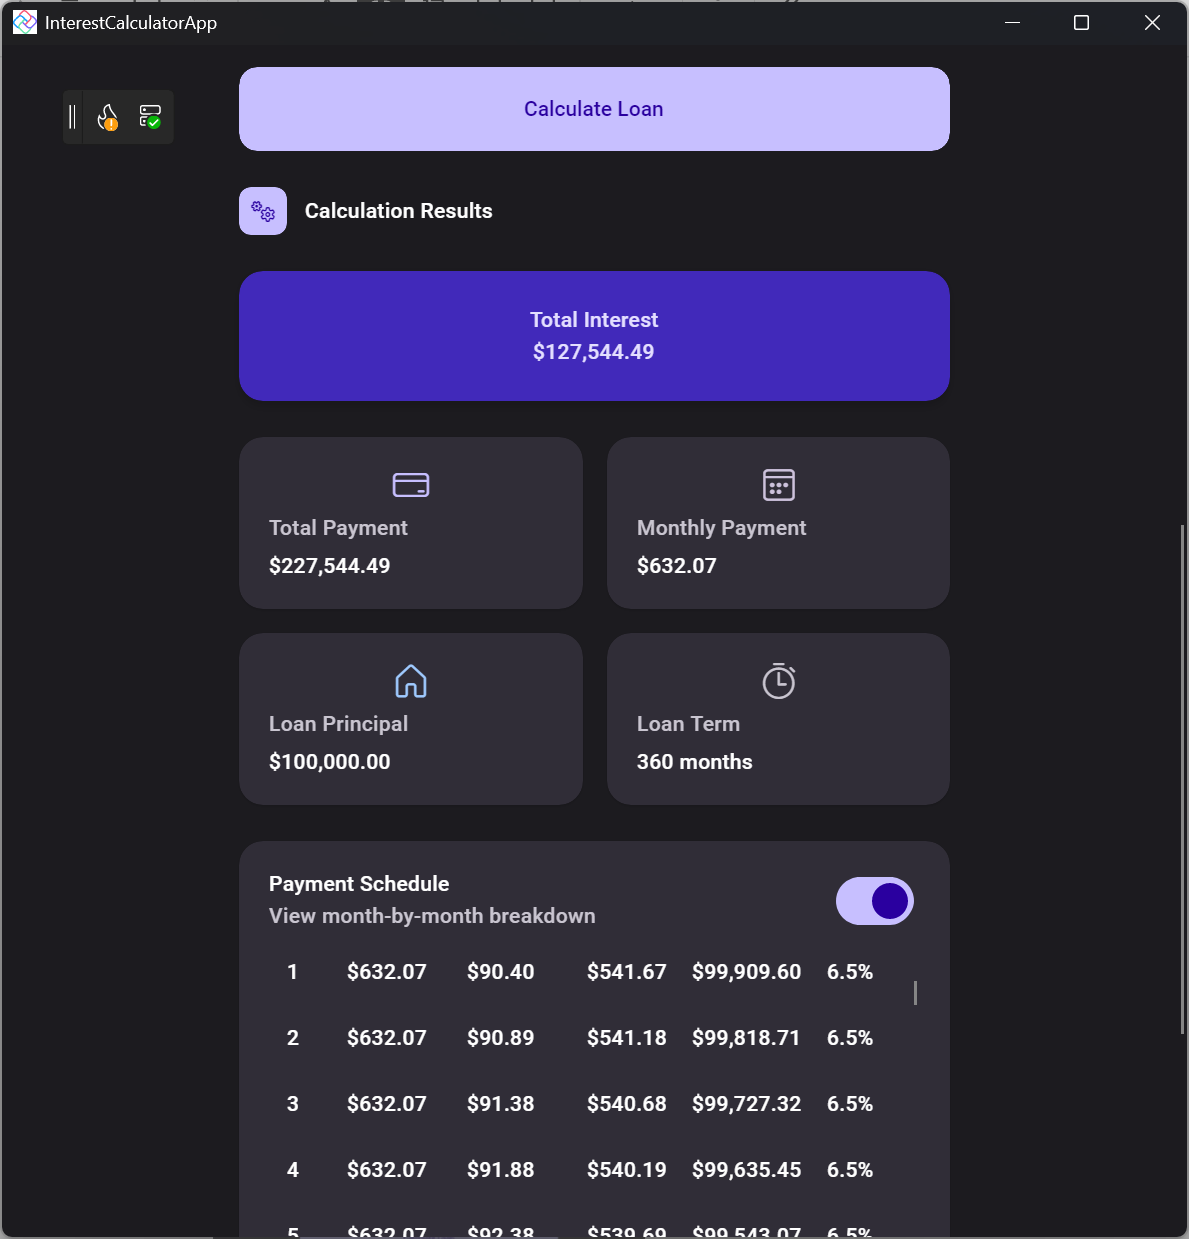
The outcome is a much nicer looking application

The agent was even able to nicely format the list of interest payments.
In this post we walked through using AI to create a cross platform Uno Platform application using a combination of the MCP servers that are provided as part of the Uno Platform IDE extensions.