Earlier this year Microsoft was touting all the work they’re putting into Windows in order to make it AI ready. This includes a slew of features that will show up only on their copilot enabled computers. However, there are some features that will be more widely available. One of these is the support added to Windows for an on-device agent registry, or Windows ODR for short. Initially this will be used to allow for the registration and listing of Model Context Protocol servers. This is going to be an initial post looking at the Windows ODR and building a Windows application that can register an MCP with the Windows ODR.
Before we get started, I will note that MCP on Windows is a prerelease feature and that I’m accessing it as part of the Windows Insiders program, on the dev channel.
To find out more about MCP on Windows and the Windows ODR you can start with the Microsoft Learn documentation for MCP on Windows. If you’re not familiar with MCP, I would suggest reading the documentation and then playing around with some MCPs in your AI tooling of choice (Copilot, Cursor, Codex etc).
Enabling Experimental Agentic Features
The Windows ODR comes with a convenient command line tool, odr.exe, which you can invoke from any command prompt. However, what you’ll find is that you will get an unintelligible error, Fatal: No symbol result found with name "app-agents".
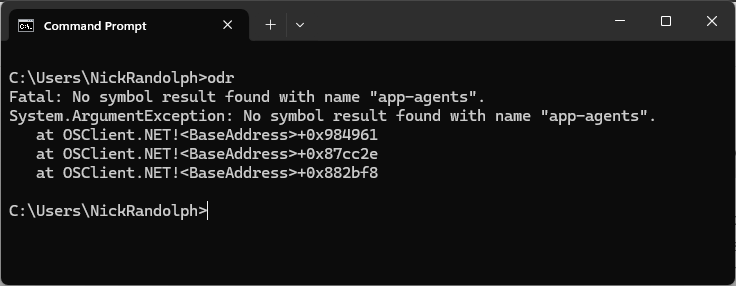
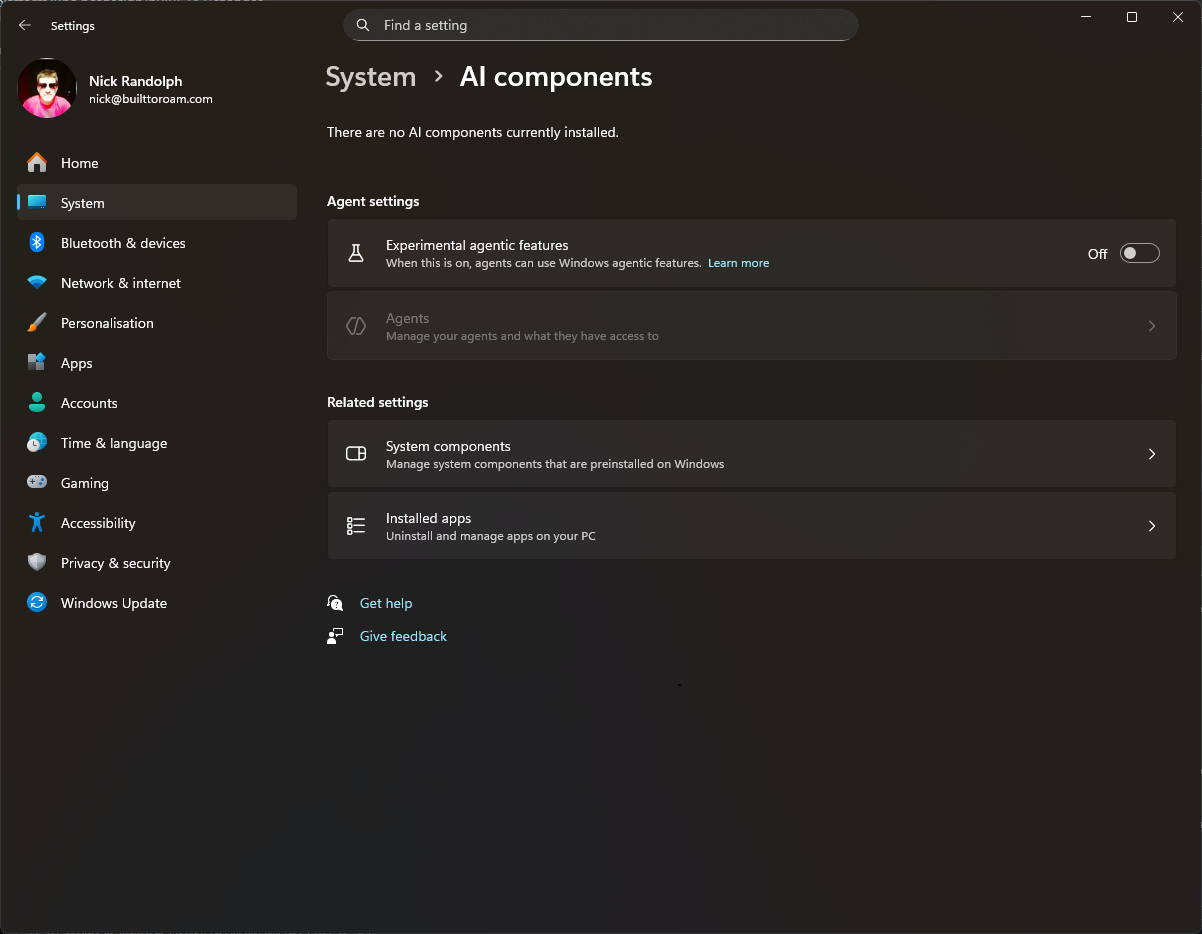
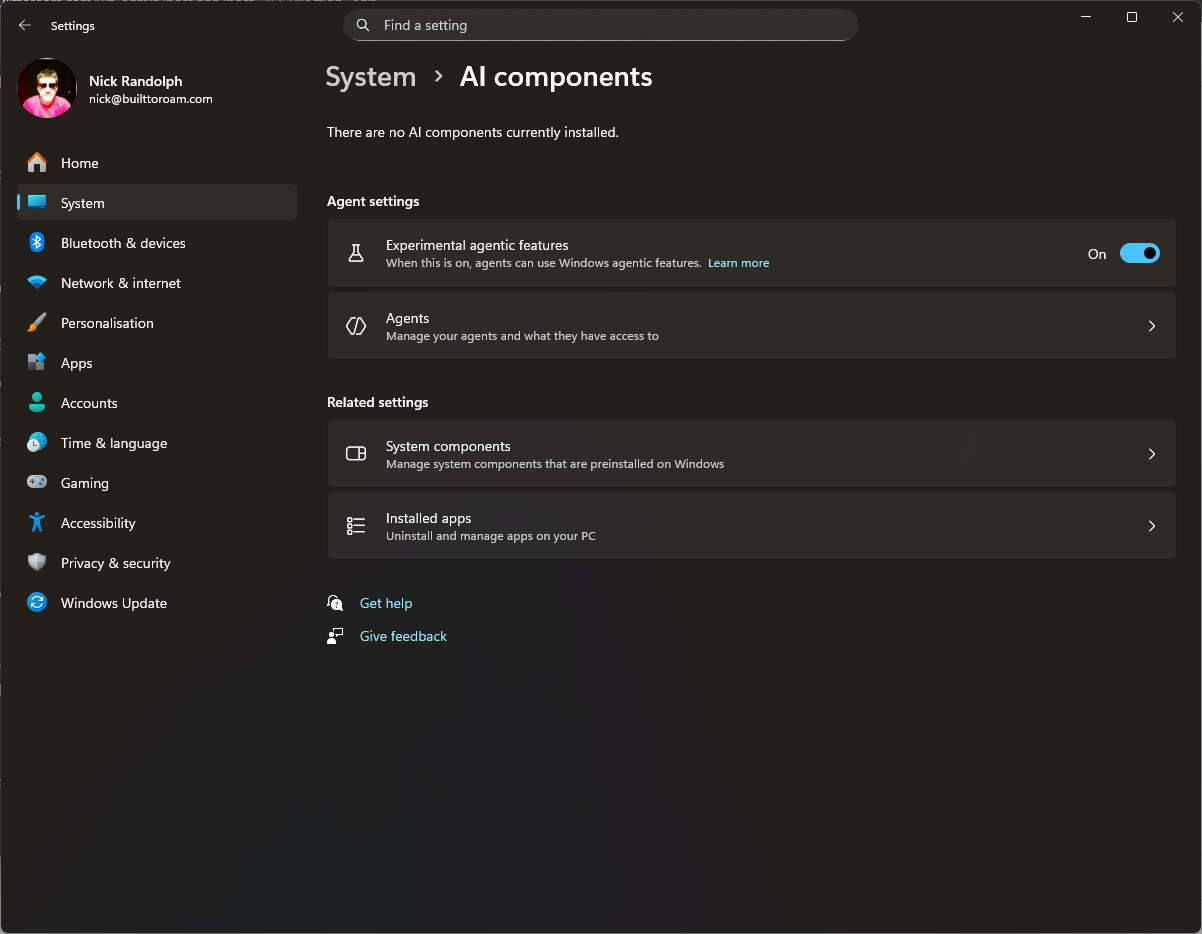
Of course, what the documentation fails to point out is that this error actually indicates you haven’t enabled the experimental AI features on Windows. If you go to Settings > System > AI components, you’ll see a new Experimental agentic features option, that is set to Off by default.
When you attempt to toggle this option to On, you’ll get prompted to confirm that you’re enabling experimental agentic features.
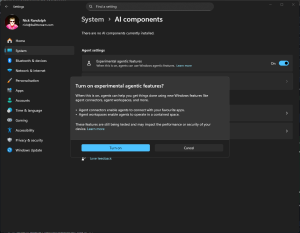
Enabling experimental features is something you should only do on computers dedicated for testing out preview Windows features.
Registering an MCP with ODR
Now that we have enabled the experimental agentic features, we can take a look at the odr.exe command line tool. If you open a command prompt and simply type odr, you’ll see some basic help information, including a list of the commands.

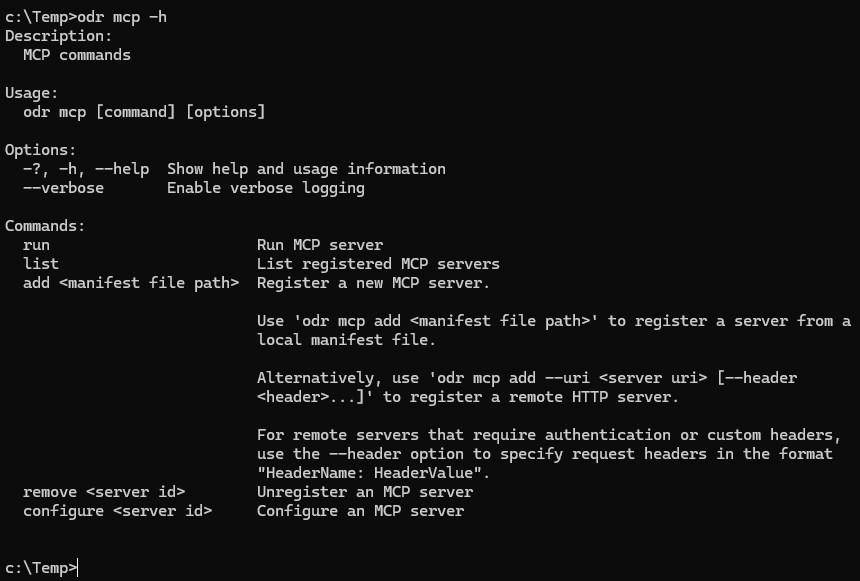
Currently there’s only one command supported, which is “mcp”. To get the options, you can execute odr with parameters mcp and -h.
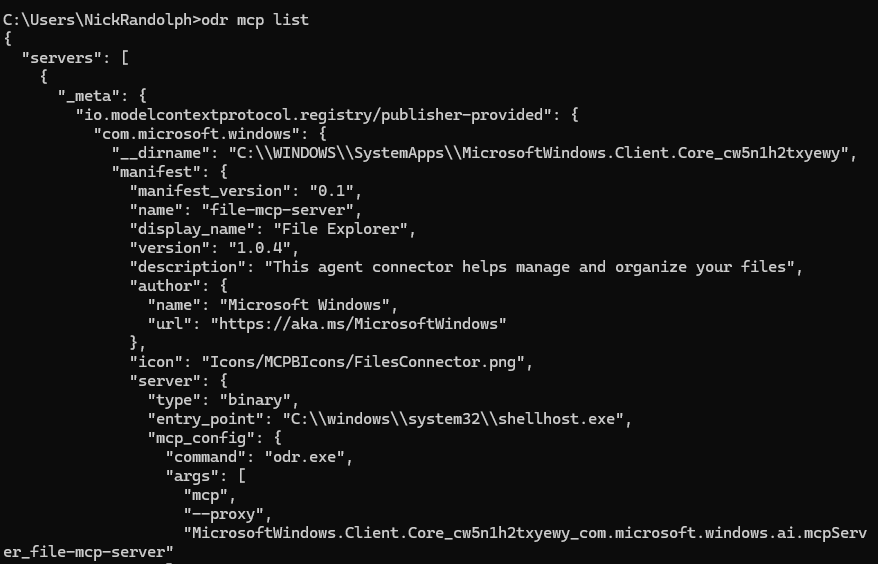
As the documentation section MCP agent connectors on Windows covers, Microsoft has already started to create Windows specific MCPs. Executing odr with parameters mcp list will return the list of currently registered MCPs. This includes the Windows File Explorer MCP.
From the help listing for the mcp parameter, there is an add option which can be combined with either a manifest file, or the uri of a remote server. Using this option we can register the Uno Platform remote MCP.
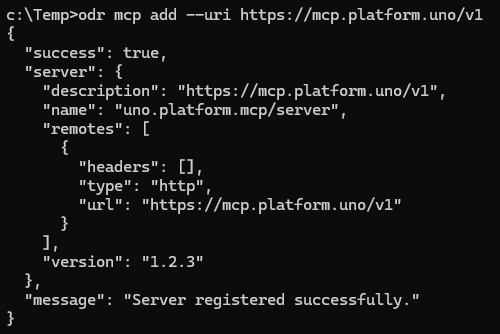
Unfortunately, the information returned after adding the mcp, nor if we now run the list command, doesn’t include the server id of the MCP server. This makes it hard to remove the MCP registration. Luckily you can discover the id of the server by attempting to register the same server again.

In this case the server id is uno-docs-mcp-1.2.3 and this id can be used to remove the MCP registration.

One thing to note is that when you have registered an MCP, it now appears within Settings under the connectors available for a specific agent. From the System > AI components screen in Setttings, click on the Agents link.
This will list the known agents, in this case just the Terminal I have open.
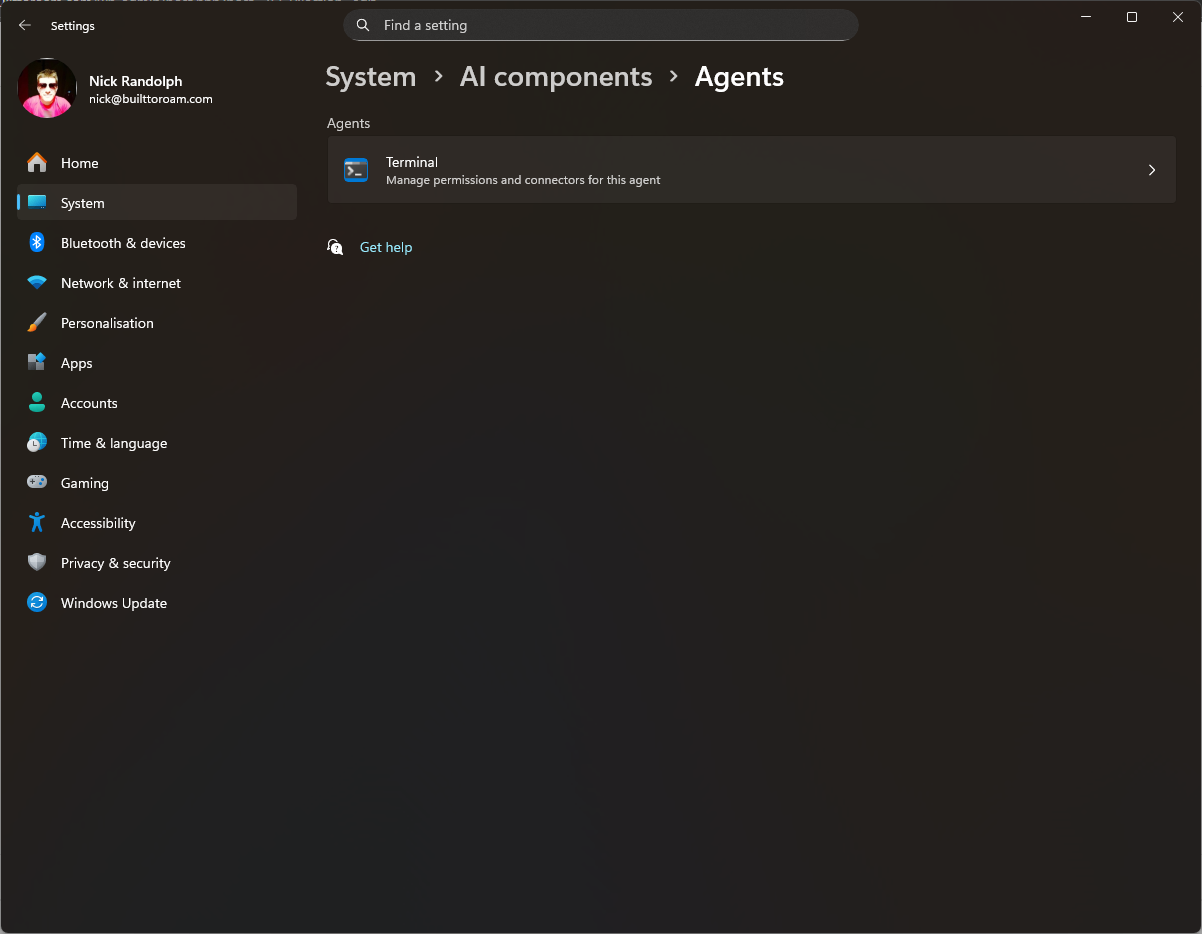
Clicking the Terminal item provides more information about the agent and the MCPs that are available.
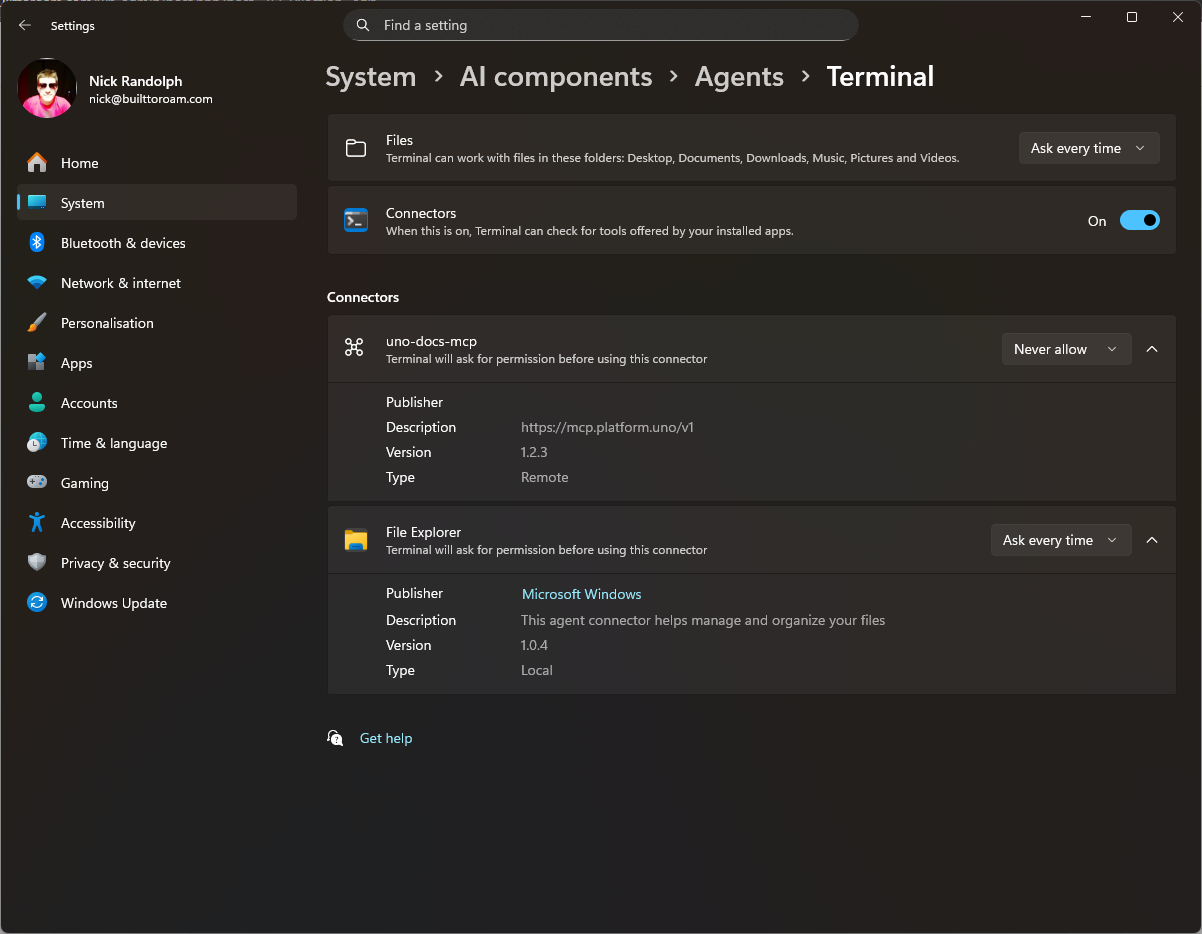
We can see here both the File Explorer and the uno-docs-mcp connectors.
We’ve covered some of the basics of getting started with MCP on Windows and the on-device agent registry (ODR). In subsequent posts will look at how we can access these registered MCPs and also how your Windows application can include, and register, an MCP server.